


We respect your personal privacy
This website uses first and third party cookies to personalize your experience, analyze web traffic data, and optimize performance. We never sell your data to third parties. Privacy Policy.


Plug the Power Supply into a power outlet, and clean the wall from dust and other buildup.


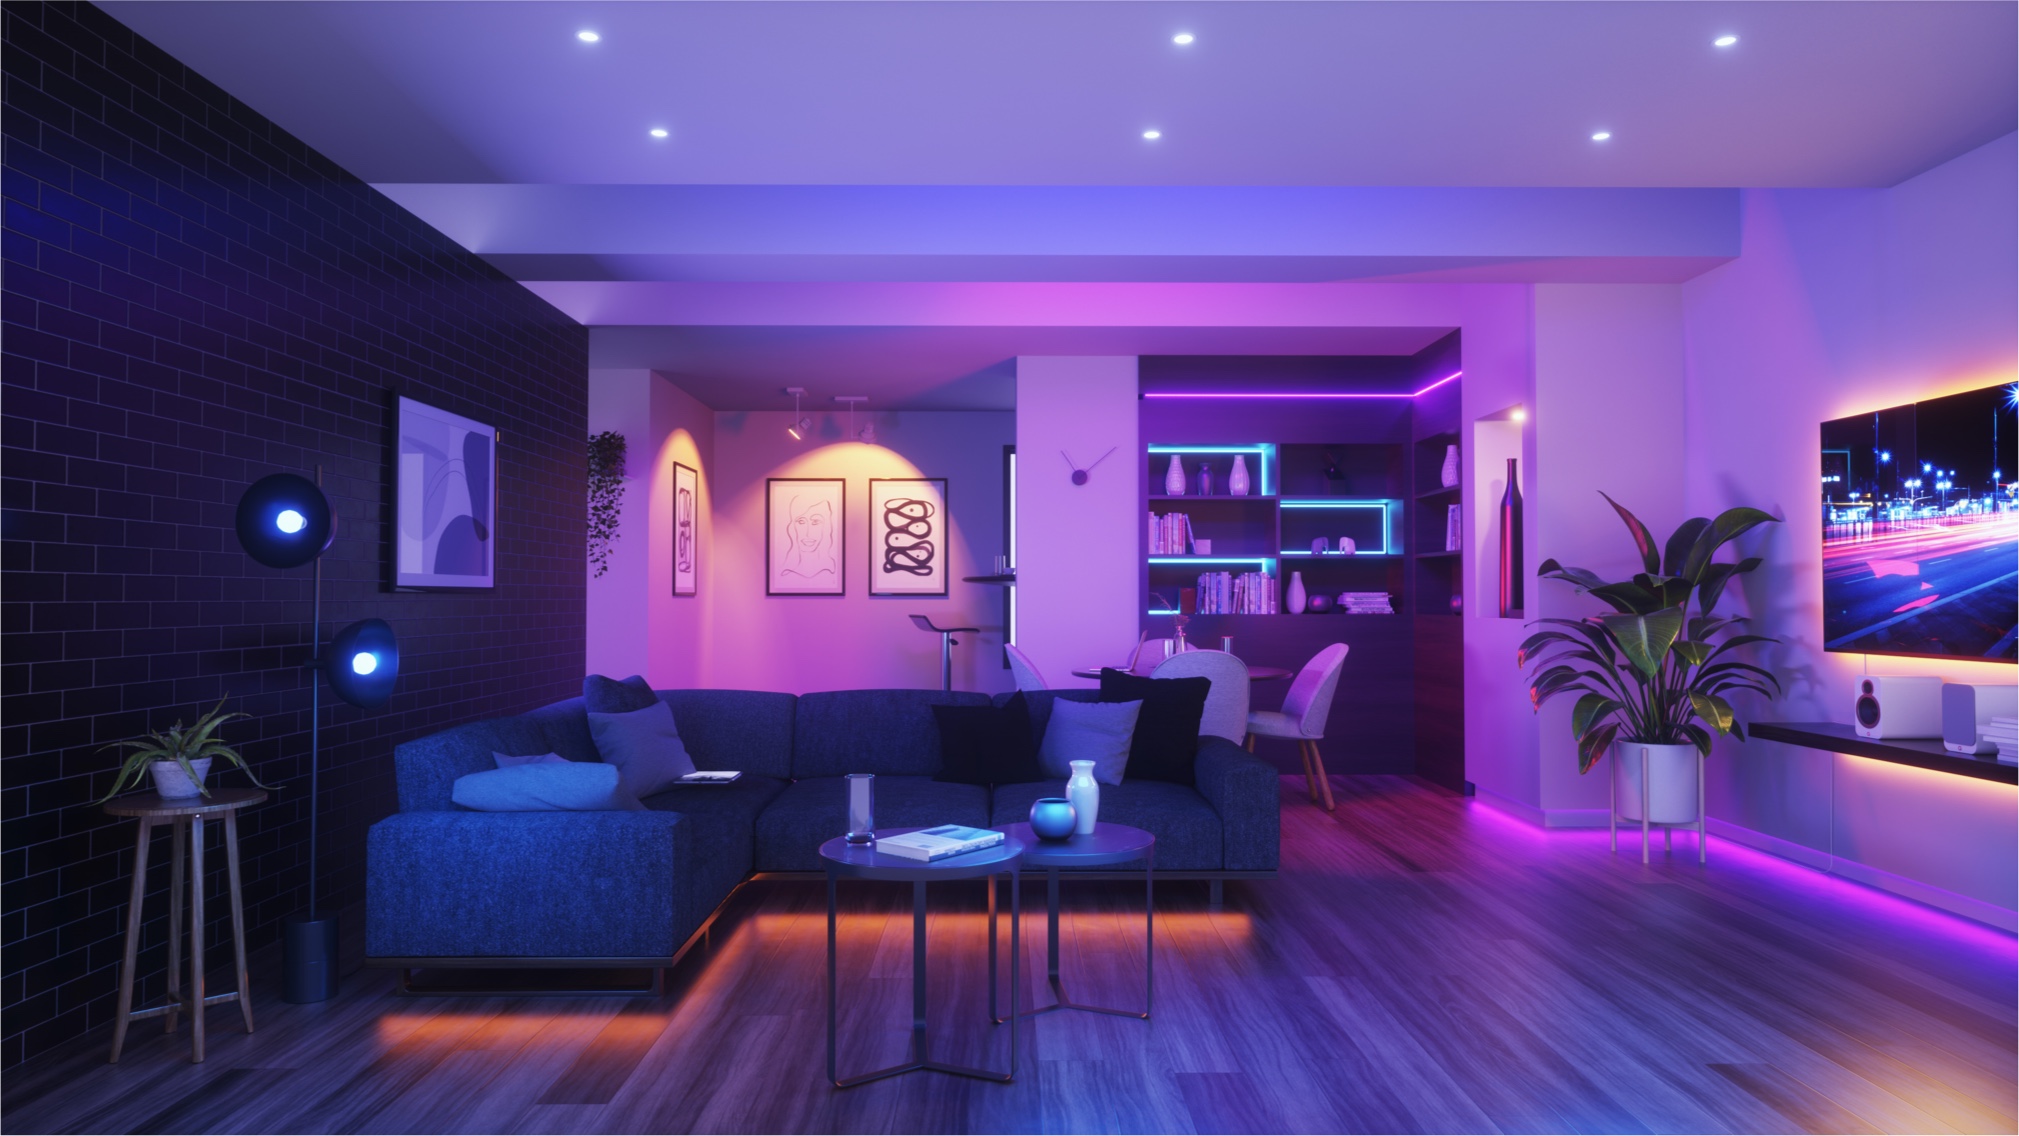
Check out sample designs below for inspiration, or come up with your own! Since the Rope Light is flexible and won’t hold its shape on the floor, we recommend mapping your design approximately on the wall. Use painter’s tape or a pencil to lightly mark the layout.


The installation begins with an adhesive mounting method before transitioning into a screw mount installation. This is required to secure your layout in place.
Grab a Mounting Clip and peel the adhesive backing off. Follow your mapped design on the wall, placing Clips and pressing the Rope Light into place as you go.
Mount your Rope Light from the bottom end first—where the Controller connects to the Rope Light.
The adhesive helps to hold the Clips in place while you build your design. You must screw the Mounting Clips into the wall in the next step to secure your layout.

Remove your Rope Light from the Clips. Using a screwdriver or drill, fasten each Clip to the wall by inserting a screw through the larger hole on the Clip and tightening it securely. Once all the Clips are screwed in, place the Rope Light back into the Clips. Your Rope Light is now installed and secured!


Warning
Do NOT cut the Rope Light. Doing so will damage the product.

We think there might be a better match for your location and language :) You can set these below for local prices and the fastest delivery. Wir glauben, dass es für Ihren Standort und Ihre Sprache eine bessere Übereinstimmung geben könnte :) Diese können diese unten einstellen, um lokale Preise und die schnellste Lieferung zu erhalten. Nous pensons qu’il pourrait y avoir de meilleurs résultats correspondant à votre emplacement et à votre langue :) Vous pouvez les préciser ci-dessous pour avoir une idée sur les prix locaux et les meilleurs délais de livraison. Potrebbe esserci una corrispondenza migliore per la località e la lingua da te scelta :) Impostale qui sotto per i prezzi a livello locale e una consegna più rapida. お客様の地域や言語によりピッタリのウェブページをお選びください :)以下から、現地の価格や最短の配信をご設定いただけます。 귀하의 위치와 언어에 더 적합한 매치가 있으리라 생각합니다. 지역 금액 및 가장 빠른 배송을 위해 귀하는 위치와 언어를 아래에서 설정할 수 있습니다. 使用自己的位置和語言肯定更順手吧:)您可以在下方設定這些選項,並取得當地價格與最快的交付。