This website uses first and third party cookies to personalise your experience, analyse web traffic data, and optimise performance. We never sell your data to third parties. Privacy Policy.
Nanoleaf 4D User Manual
Physically setting up your Nanoleaf 4D
If you bought the Camera Only kit, proceed directly to Positioning the Nanoleaf 4D Camera. If not, follow the instructions below to first attach the Lightstrip.
Attaching the Lightstrip
Preparing Your Surface
Make sure the back of your TV or monitor screen is free of dust, moisture, and oil before attaching the lightstrip or corner brackets.
Attaching the corner brackets (optional)
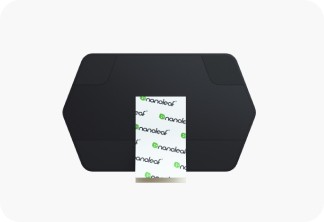
Use the provided tape and attach corner brackets onto the corners of the back of your screen, at least 2" away from the edge. These brackets make it easier for the Lightstrips to achieve a corner bend.
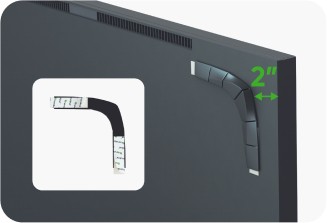
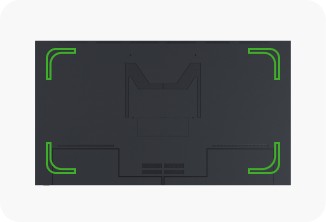
Attaching the Lightstrip
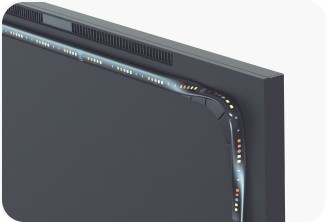
Peel the tape off the Lightstrip, and adhere it around the back of your TV, at least 2" away from the edge (bending around corner brackets, if used). Start with the end connected to the power cable on either side of the screen. Press firmly along the length of the strip to ensure a strong adhesion.
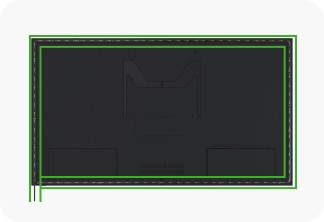
Connecting the controller
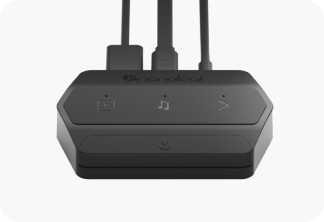
Connect the Lightstrip (USB-C) to the Controller.
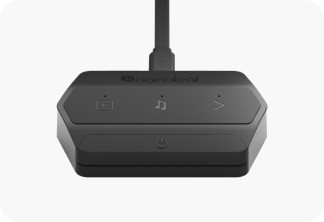
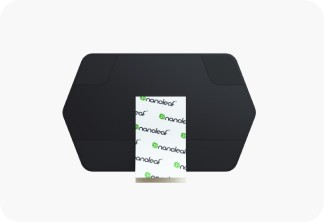
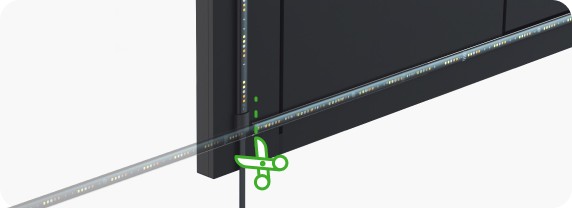
If you need to cut your Lightstrip to fit your screen, set it up first starting with the end connected to the power cable. Cut the remaining loose end carefully, avoiding any of the LED lights.
Once cut, the strip can not be connected back together, so ensure you’re set up properly before cutting.
Positioning the Camera
Choosing the camera placement
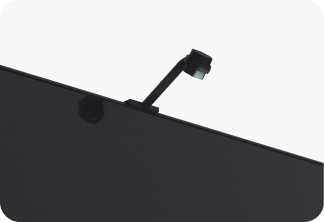
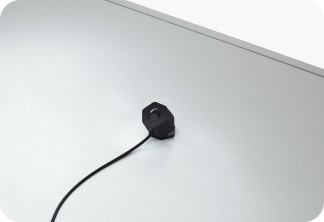
Place the camera above the screen (top centre) using the included mount, or directly on a surface below your screen without the mount.
Adjusting the camera angle (for the placement below the TV)
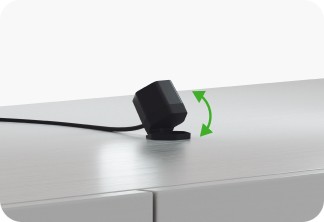
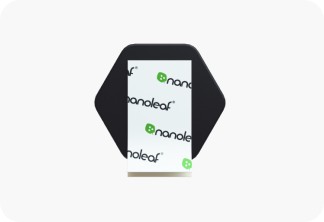
If placed below your TV or monitor, you can use the built-in stand to adjust the camera angle. You can also use the provided tape to secure your camera on the surface below your screen as movements to your camera may affect the screen mirroring experience.
Connecting the controller
Connect the camera (USB-A) into the Controller, and plug in to power. The LED lights on the Controller will blink when you plug to power.
